Howdy.
This is an easy-to-build garden bed I constructed today. You can do it too! Yes, even you!
Why build a garden bed anyway? Planting straight into the ground has a fair amount of disadvantages, mainly weeds, pests and quality of soil.
Since our yard is limited in size and shrouded with gigantic trees I decided to start with one box for now. I went to Homogenous Depot to scope out their prefab garden box kits. I found them to be a bit pricey, plus the dimensions wouldn’t work with my allotted space. AND, and I love to build stuff.
I’ve seen some creative vertical lettuce garden beds fashioned out of repurposed rain gutters on Pinterest, but the garden committee at our house made a unilateral decision for something more traditional.
I bought two 8′ sections of cedar plank. Unfortunately Home Despot’s selection of cedar was somewhat limited so I opted for 6″ width x 1″. (Cost around $16 total.)
Why cedar? While there are many varieties of cedar most are decay resistant and also repel insects. Many Asian varieties are nearly extinct.
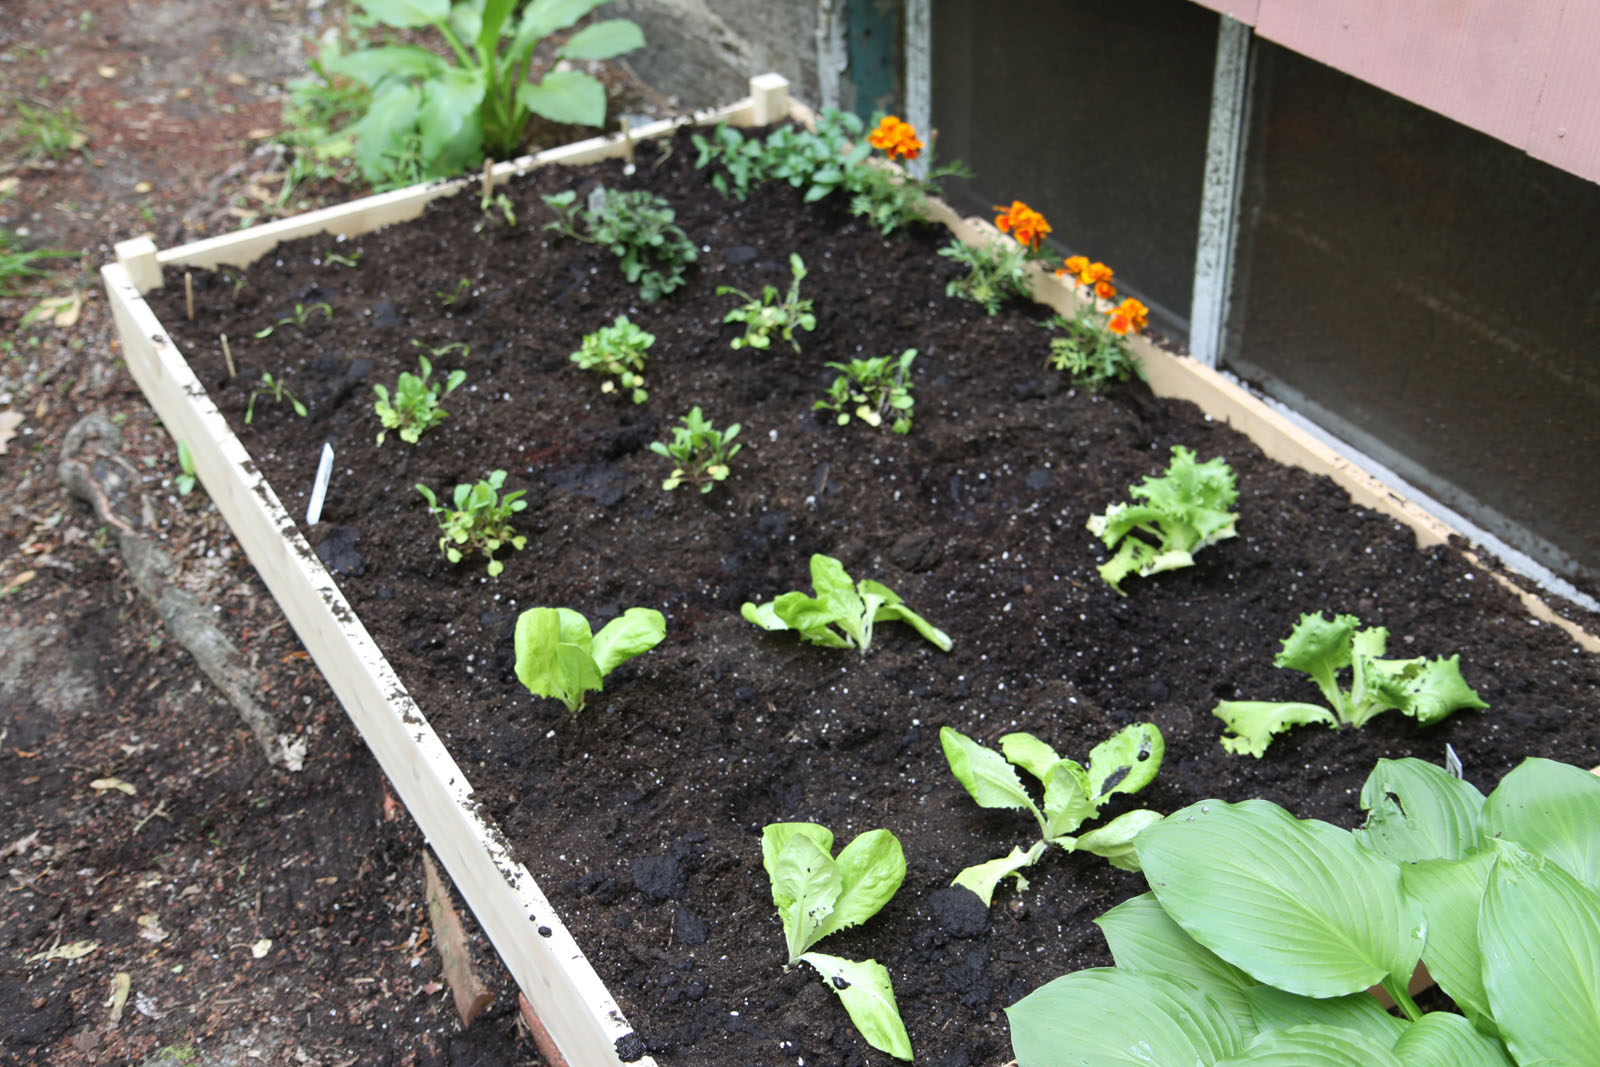
Since our yard is mostly shade our garden will be yielding herbs and a variety of lettuces–that is if our squirrels don’t pillage it much as they have done with our succulents.
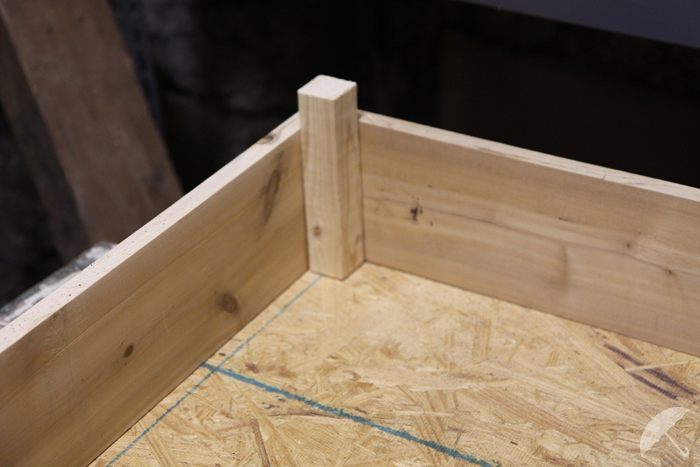
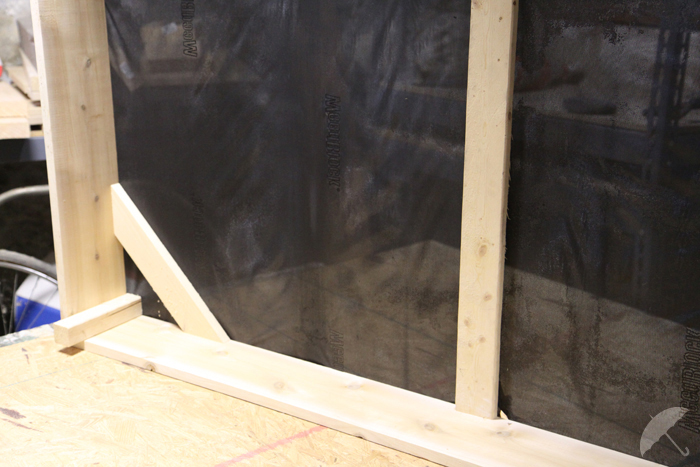
The construction of this box was ridiculously simple. I anchored the corners using pine 1″ x 1″s to attach the cedar panels. In this case my box is 5′ x 3′ giving me the most use of my 8′ lengths. I cut the 1″ x 1″s to 7″ in length so they would rise just above the box. If I were planting tomatoes the plants would need more room for their roots. In this case I would’ve doubled the length of the 1″ x 1″s and added another plank all the way around giving the garden box a depth of 12″.
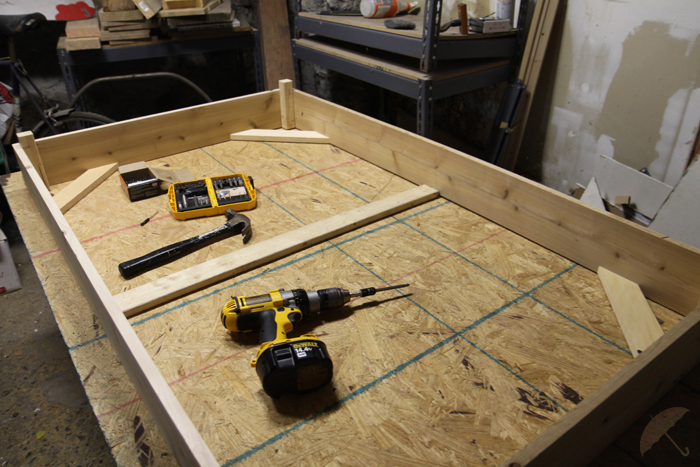
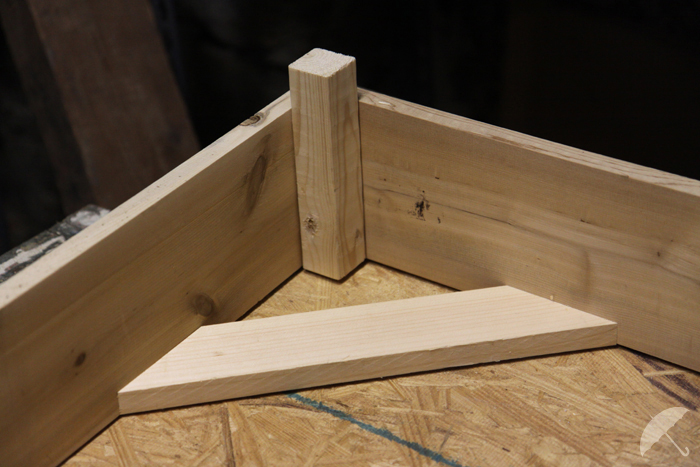
For stability I added four corner braces and additionally one middle brace that runs the width of the box.
I assembled my box using weather resistant 2″ deck screws. Also, the 1″ x 1″s and corner braces are actually pine so it’s always a good idea to pre-drill to keep the wood from splitting.
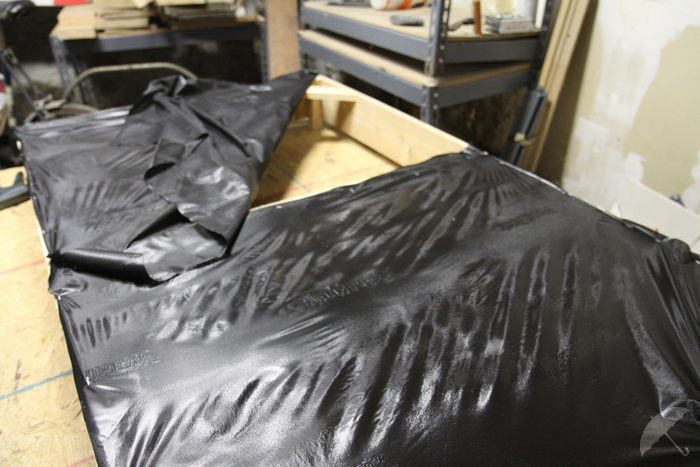
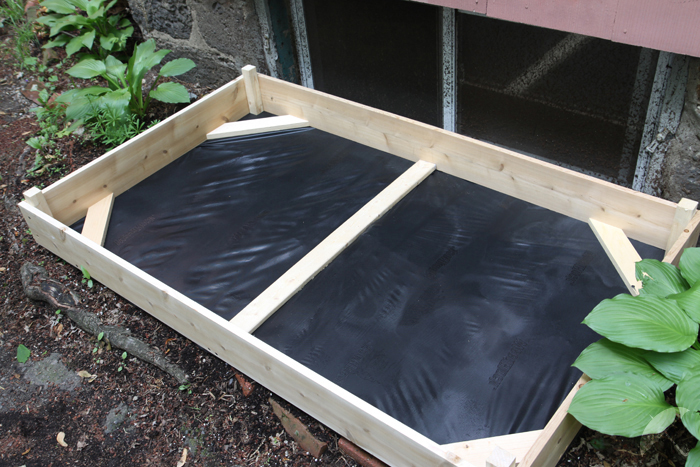
After the frame was constructed I backed the bottom-side with landscaping fabric. You can get this stuff anywhere, basically it allows moisture and air to penetrate the fabric but keeps out any weeds. The dimensions of my box worked out perfectly to the width of the roll of fabric. I cut two pieces and using my trusty staple gun stapled the fabric on all four sides (using the middle brace as the 4th side for each piece of fabric).
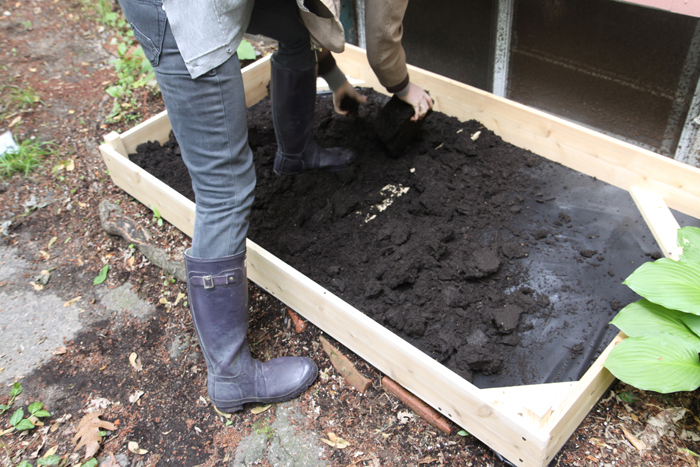
And then the fun part! Filling with brand new soil and planting the first batch of lettuce that will hopefully provide us with a summer of fresh salad instead of the shit that is currently rotting in a plastic bag at the back of our refrigerator.
The total cost of the project (wood + landscaping fabric) was about $28. What’s great is you could potentially place this garden anywhere outside that you have room.
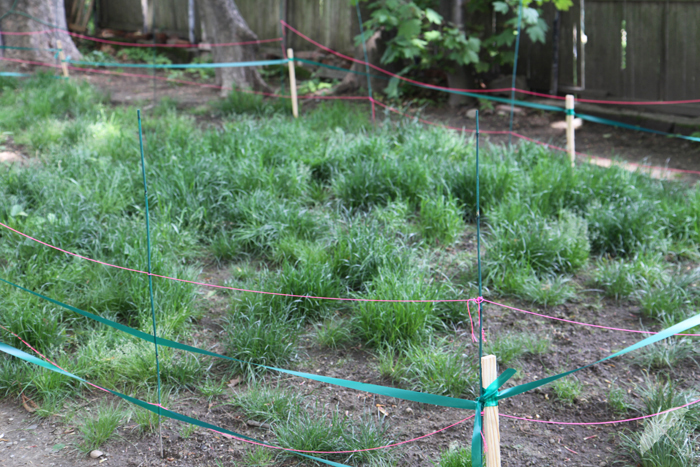
If you’re curious about my lawn project… the grass I planted is just starting to come up; meanwhile, the grass I transplanted is going fucking bananas. I did, however, have to add another barrier to the danger zone.
No Comments